 Clod Clash
Connection
System proxy, TUN mode, routing modes and what they mean
System proxy
By default the connect button turns on the system proxy (unless the provider has
set a different method). The app writes the address 127.0.0.1 and the proxy port
into the system settings: your own from "Port Config", otherwise the one from the
subscription, otherwise 7897. Browsers and most programs go through it.
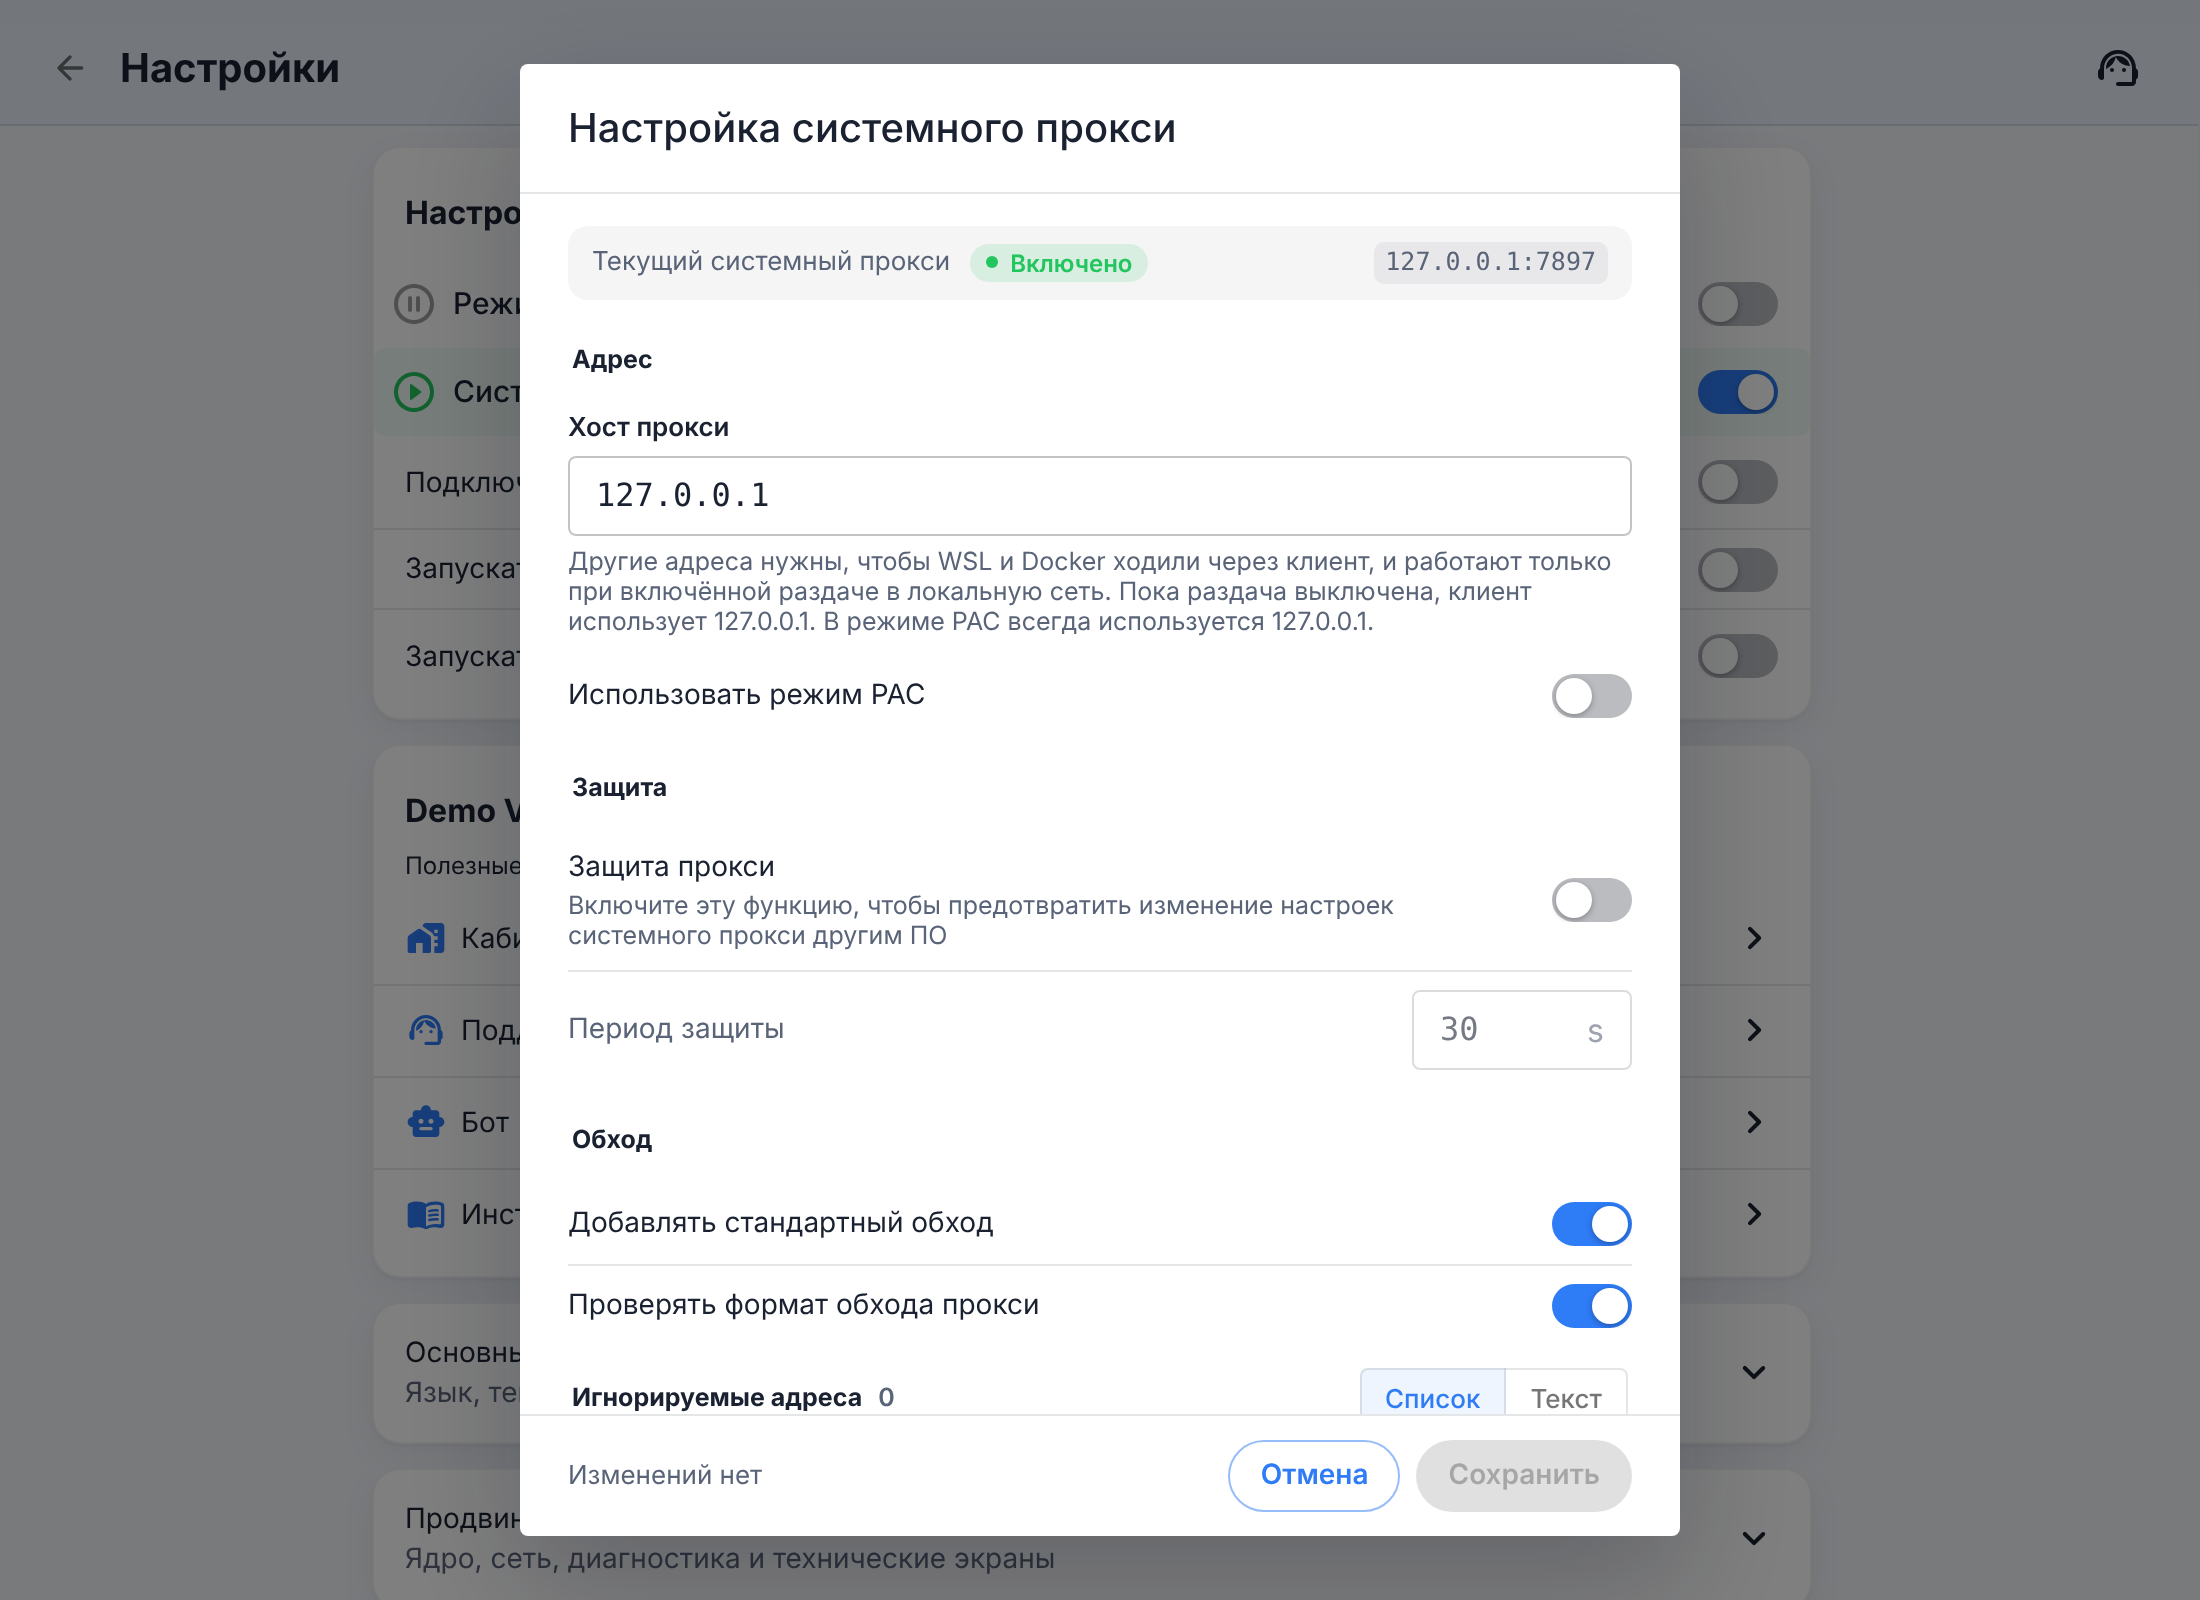
A different address ("Proxy Host" in the "System Proxy Setting" window) is written only
when sharing to the local network is turned on — for example, for WSL and Docker. If this
computer doesn't have that address right now, or the subscription's LAN sharing lists
(lan-allowed-ips, lan-disallowed-ips) don't let it in, 127.0.0.1 is written instead and
a notification appears; once the address fits again, the proxy goes back to it.
This is the simplest mode: no administrator rights are needed, the network as a whole is not affected, and the setting is removed when you exit the app.
- On launch the app doesn't connect by itself — that's what "Connect on launch" is for (off by default).
- Someone else's proxy, set by another program, is left alone by the app, and when the switch is off the app writes nothing to the system.
- Proxy Guard. If the proxy was removed by hand, by default it stays removed. The "Proxy Guard" switch in the "System Proxy Setting" window (Settings → System Setting, the gear next to "System Proxy") brings it back every "Guard Duration" (30 s by default).
Programs that ignore the system proxy (some messengers, games, command-line utilities) won't go through it. TUN is there for them.
TUN mode
TUN creates a virtual network adapter and captures the traffic of all programs. It's turned on with the "TUN" switch in quick actions (advanced mode), "TUN Mode" in Settings → System Setting, or in the tray menu. The same switches define what the connect button turns on.
If the provider has locked the mode and set the connection method, quick actions show "… — the connection method is set by your provider" instead of the switches, and in the settings the remaining switch shows "Set by your provider".
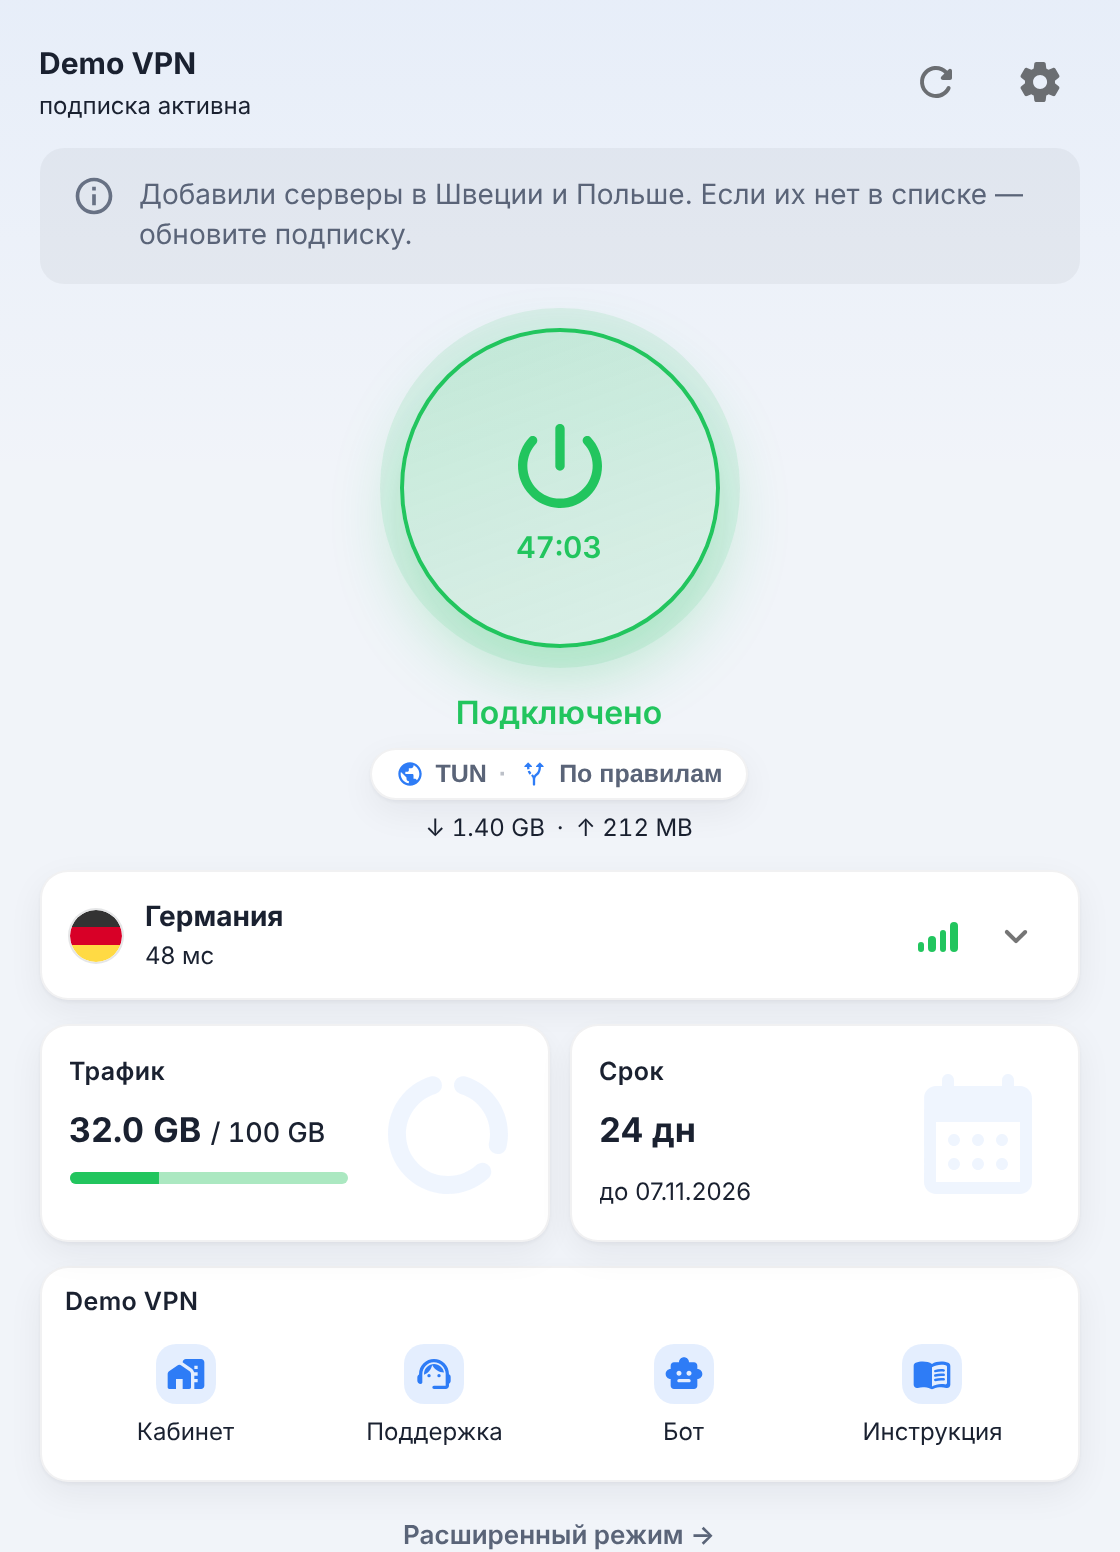
TUN needs a background service with system rights. On Windows it's installed by the installer, on Linux by the package, on macOS it's installed the first time you turn TUN on, after one password prompt. The app itself stays an ordinary program without special rights.
The switch shows the fact, not the setting: if the core couldn't bring up the adapter, TUN goes off, and a line with the reason and a "Set up" button appears under the connect button. Bringing it up gets three attempts. Right after TUN is turned on, the app checks that traffic really goes through the tunnel and warns you if it doesn't.
Stack
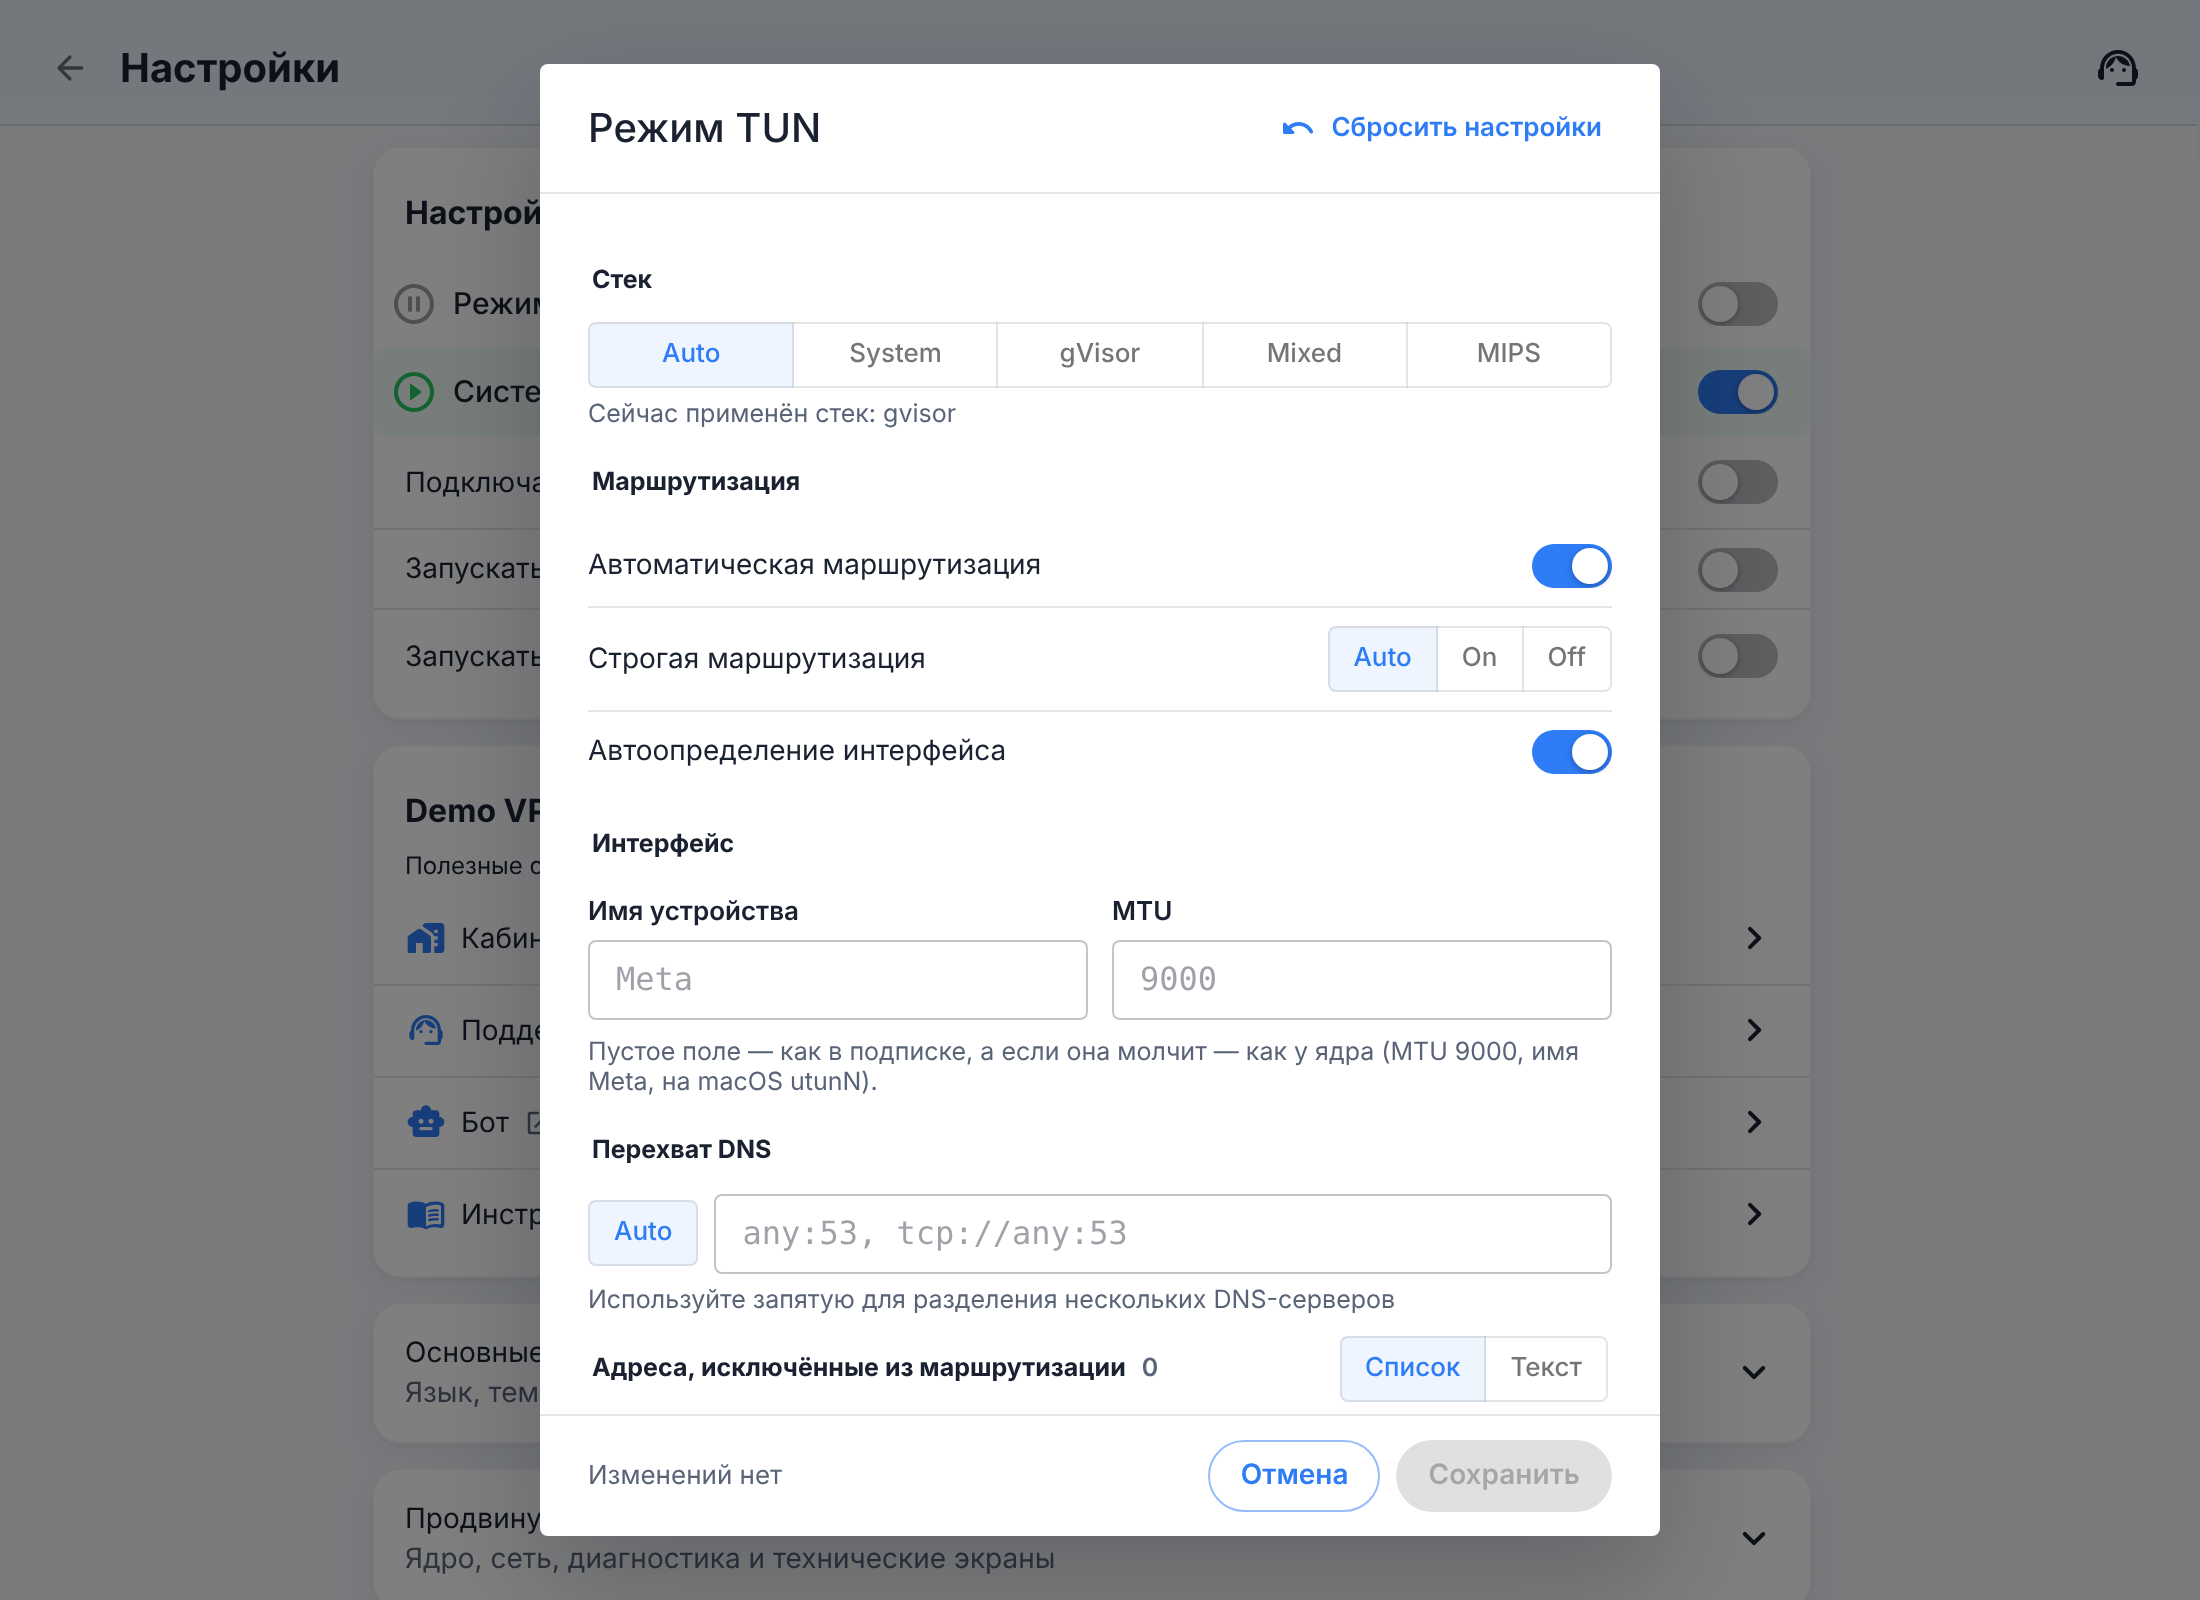
In the "TUN Mode" window (the gear next to the "TUN Mode" switch in the settings)
you choose the stack: gvisor, system, mixed or mips. "Auto" is the stack from the
subscription, or gvisor if there is none there. mips is Mihomo's own stack; like
gvisor, it doesn't open a local listener.
TUN on Windows
The system and mixed stacks open a local listener, and Windows Firewall may
block inbound connections to the core — traffic silently disappears. The installer
adds firewall rules for both cores by itself. If a rule is missing (for example, an
antivirus removed it), a warning with a "Fix" button appears on the home screen —
one rights prompt. The app doesn't fix third-party firewalls: in those you need to
allow the core manually.
That's why on Windows system and mixed are not taken from the subscription — choose them in
the TUN dialog yourself if you need them.
If, when you turn on TUN, the app reports that the adapter is held by another client, another VPN client using the same driver is running on the computer (or it didn't release the adapter after closing). Close it or restart the computer.
TUN on Linux
The package registers the service with systemd on installation. If the service is stopped,
the app starts it through pkexec; if polkit is not installed, you'll see a
clear error with a command to install the service manually:
sudo /usr/bin/clash-verge-service-installOn Fedora and other systems with SELinux the required labels are set automatically.
Routing modes
The pill under the button shows the mode:
- Rule — traffic is split according to the subscription's rules: the provider decides what goes directly and what goes through the server. The usual mode.
- Global — everything goes through the server.
- Direct — nothing goes through the server (handy for quickly checking "is it the VPN's fault or not").
Tapping the pill opens the settings (unless the provider has locked the mode); the mode itself is changed in Settings → Advanced settings → Clash Setting → "Routing mode", on the "Proxies" page, in the tray menu (the "Mode" submenu or the "Mode: …" items themselves, if showing them inline is enabled) or with a hotkey.
Until you've picked a mode, it's taken from the subscription, and if it's not specified there — "Rule". Your choice is remembered separately for each subscription and survives its update. The provider can lock the mode with a header — then there's no choice. The restriction is lifted when the provider stops sending it or when the subscription is removed, and a temporary one also if the subscription hasn't been updated for several days.
Connect on launch
In quick actions (advanced mode) and in Settings → System Setting there are three switches: Connect on launch, Start with the system and Start in the tray. All are off by default; together they give you "turn on the computer — the VPN is already running in the tray".